Showing posts with label Imperial Guard. Show all posts

Wednesday, October 14, 2015

10/14/15: Showcase: SLW's Studio Renegade Guard Army WIP

"This day, we dedicate our lives to the masters.
This day, we dedicate our deaths to their cause.
This day, we dedicate our souls to the eternal glory of the abyss.
This day, we rise!"
-Mariak Soth, Invokator of the Cult of the Exquisite Corpse

Greetings warriors of the abyss! After selling my personal Imperial Fists army, I knew I had to jump into a project I'd been dying to work on for years and years! I've always been a fan of the Imperial Guard. Lots of tanks, massed infantry, the order system, everything just had a narrative feel to it. I'm a total sucker for the Gaunt's Ghosts books for that reason! My first army was Imperial Guard, and I knew it was time to redo that army with the skills and tricks I've acquired over the last five years of painting. This time, though, they took on a darker side....


The Renegade Command Squad, led by the brutal tyrant Ornifex Zaan, on left. Not shown is the standard bearer, who still needs to get his standard painted!


Doubling as either a Company Commander or an Arch-Demagogue, Zaan here is a brutal looking miniature, and reminds me a lot of the ghouls from Fallout! His adjunctant is the limited edition Warlord Princeps from Forge World, and is used as a Regimental Advisor. I also have the limited edition Navigator to work as an Astropath.


The Rogue Psyker Tru'ul; I opted for a sickly, pallid flesh tone to really give him a corpse-like look. Even the decapitated psyker head at his belt looks more lively than he does! He works as a Rogue Psyker or a Primaris Psyker, depending on the ruleset.


Last time I did Guard, there were no plastic Ogryn! If you're not running ogryn, you're missing out on a fun, hard-hitting unit! I also have another box that will become standard Ogryn, and both units will get a Taurox to ride around in.


The big centerpiece unit for the army is a renegade Malcador! While I love the model, its actually smaller than I expected, and I question its Superheavy status! Opted for 3 Lascannons and the Battle Cannon for extra armor destroying goodness!


Plenty of heretical runes and glyphs adorn the tank!


'Hail Zaan and his glorious new regime!"


The renegade brass etch is wonderful, and really adds that extra detail to the tanks. The Malcador comes with both Imperial and Renegade crew, and I'm sure the Imperial one will end up in a commission project very soon!


Side shot of the command chimera. Lots of weathering, lots of dust and grit. When the army's done I'll show off more angles.


Side shot of the Platoon command's chimera.


The first Taurox; while I can't run them in the Renegades list in IA13, these are great little transports for Veterans and Ogryn in the standard codex!


And what would a Guard army be without some Leman Russ! I have a second one that required a lot of cleanup and conversion work, and the goal overall is to add a third armed with a Demolisher Cannon!

On the workbench I've got 30 Infantry, as well as some heavy weapons teams, 30 Veterans (I'll be using renegade Death Korps for them) as well as some enforcers and a Platoon command. I'm booked until mid 2016 though, so we'll see when the next update on them is!

Granesh

Thursday, June 18, 2015

6/18/15: Showcase: For Sale Astra Militarum Cadian Baneblade

Howdy folks!

Getting my Blogger game back on track! Will hopefully keep this pace going from now on, this is just as important as Facebook and Instagram!

This was a fun little repaint project I got a sudden urge to work on one night. I'd wanted to test out some basic camo effects with the airbrush, but painter's tape doesn't get that nice organic shape and I didn't have any masking putty. Cue a 1 AM run to our local grocery store for play doh! Worked the charm I'd say, and allowed me to focus on decal work and basic weathering. I also pulled an old Forge World Chimera Tank commander model out of my bits box and got him in the hatch!

As you can see by the title, this model is for sale; you can find the eBay auction HERE! As much as I want to do a Tank heavy Guard army at the moment, I've got too many projects as it is, so this guy is on the chopping block!

Up next is some Blood Bowl teams, as well as some work on my personal Imperial Fists army! Trying to get that Strike Force Ultra formation going....

Granesh

Thursday, January 29, 2015

1/29/15: Showcase: Tau Riptide and Death Korps of Krieg Valkyrie

Good evening folks!

Another week, another group of projects to show you all! The cycle never ends, and I'm alright with that!

This time around, we have a Green Lantern-inspired Tau Riptide and a Valkyrie, done for the same client. You'll be seeing more of the Green Tau soon, as the client is commissioning a larger force here down the road! Lets start with the Riptide!


The Riptide in all his green glory! All weapon options are magnetized for full optimization! Fun to do some techniques I don't usually work with, while still using things like transfers and lens effects.


Phenomenal cosmic power! Itty bitty tiny head!


Can't forget the Missile Drones! The addition of a transfer to the front helps give them extra character.


The second model was an Imperial Valkyrie, done to match the client's Death Korps army. All wing weapons are magnetized for whatever the need!


The client's army is called the Iron Wolves, and wanted a transfer to represent that. I took the wolf's head one from the Space Wolves sheet and did a little detail work with a brush to give it a mechanical look!


I always encourage clients getting a Valkyrie done to get the Forge World Transfer sheet to go with it. Not only does it have the nice wing transfers, but also pilot names, as well as....


...nose art! Gotta love that look!


Simple trench base to match with the DKoK. The sign is scratchbuilt, the barbed wire is twisted lengths of wire, and the base was given a touch of gloss varnish to simulate mud and muck!


The Valkyrie readies to unleash its payload...


...while the Riptide steadies for the incoming flyer!

Really enjoyed working on these, especially the Riptide! Stay tuned, as more of the Tau army should be coming down the pipeline shortly!

Next up is Malifaux, a character for an RPG, and some Mechanicus! Genghis Con is just around the corner as well, so I'll be sharing my entries for that very soon! One project is going to be a lot of fun!

Stay tuned!
Granesh

Thursday, March 27, 2014

3/27/14: Tutorial: Making Zone Mortalis Fire Wasps

Howdy folks!

Sorry to keep you all without any major updates for a bit! Hawaii was incredible, it was nice to get out and sit on the beach for a while! A couple of the waterfall hikes on Oahu kicked my butt though! I'm a painter, not a mountain man!

But I digress! I've got a fun little project for all of you this time, something I've wanted to do for a while, and am just now getting around to! For those of you who haven't played Zone Mortalis yet: WHATS WRONG WITH YOU?! Its incredibly fun, and you can obtain the rules for free on Forge World's site (LINK). The games play incredibly quick, allow you to run units you'd never run in a normal game of 40k, and you can create a Zone Mortalis board with some wooden blocks, pink foam, or even draw it out on a big whiteboard!

After playing a couple games, though, I wanted to check out the stratagems, which no one ever seems to run! I was immediately hooked by the Fire Wasp entry; A T5, W2 Flamer with Scout on a 40mm base is AMAZING for the game. It can shut down corridors, block hallways, prevent charges, and throw wounds on both hordes and elite units alike! I'm sure Forge World will make a model for them eventually, but I saw a couple bits off Puppets War's website and just knew I had to make these bad boys!

Tutorial: Making Fire Wasps, the Easy Way!

Materials

Puppets War Flamethrower Left Palm: HERE
Puppets War Rotor Type Wing-Pack: HERE
40mm Base and Flying Stand (any height will work)
Spare bits (Tau Heads, IG Binoculars, Chaos Spikes, etc.)


Step 1: Wash the pieces and clean up any mold lines, flashing, sprue, etc. (Do I even need to say this?)

Step 2: Remove the hand from the Flamethrower Left Palm


Step 3: Flip the Flamer upside down, and glue it to the Rotor Wing Pack. The flamer pack (the part with the little "X" should meet up just about where the magnet hole is on the Wing Pack.


Step 4: Carefully drill a little hole in the underside of the flamer to mount the flight stand. Use a hobby knife to widen the hole if need be.


Step 5: Prep your base. Mine is a 40mm with textured plasticard and an old pair of FW IG binoculars to add variety to the base. Paint as desired (I prefer rust and industrial-looking numbers). 


Step 6: Customize your Fire Wasp to match your army! For the Imperial one, I simply added a set of purity seals to the side and the IG binoculars to the top to create a vision port/searchlights. For the Nurgle one, I moved the eyes to both sides, rather than on top. Chaos spikes adorn the wings, a skull with a chain adds a flesh-hook look, and the drill is from the finecast Warpsmith (his little servo-arms break too easily!)


Step 7: Prime and paint to your heart's content! For the Imperial one, I opted for a military grey with splashes of color. I get a feel of the Terran from Starcraft looking at the flash of colors on it, which is what I wanted! The Nurgle one was rusted out and sponged like the other one. Purple was used to compliment the orangish hue, and the green slime trail was made using hotglue, gloss varnish, and Moot Green. 


I added a little marking to the front of this Wasp to continue the military feel.


Not the pus spray! Anything but the pus spray!


These would be very easy to make for any other army as well. A winged Ripper with a bio-acid spray, a Tau drone with lights and antennae, and even a group of gretchin goading each other around corners and corridors with a comically large flamer, the possibilities are endless! 

40k's theme is Forge the Narrative, so why not build some fun, characterful models to match your army for that one off game of Zone Mortalis? You could even get ambitious and build a sentry gun or even your own Space Hulk for your army to defend from boarding parties!

I hope this tutorial inspired some of you to get out there and make your own Fire Wasps! I'm planning on making a couple more and sending them to some good friends, especially Carl at The Independent Characters, since I know he's got a Zone Mortalis board these would fit beautifully into! 

Alrighty folks! I'm about a month out from moving, and I'll be moving again in July, but that doesn't mean we don't have some awesome projects coming down the pipeline! Be ready for 3 tables worth of terrain! More C'tan than you can shake a Staff of Light at! An army consisting of 3 Knights and a Warhound! I might be able to sneak some Alpha Legion in there too....

Stay tuned!

Granesh

Wednesday, November 20, 2013

11/20/13: FInished: Imperial Baneblade "Dominator"

Hey guys!

So I've had this kit sitting around for quite some time and, every time I tried to paint it, I just couldn't get into the project. I'd eventually reprimed it grey and left it at my shop, where it sat for a couple of months. Finally, leaving work on day, I saw her sitting on the shelf in the front and decided it was time to paint her up!


When I started, I opted to mainly use weathering powders to achieve shading and texture. I overbrushed a layer of light grey over the medium grey basecoat I'd primed her. After that, I used Forge World's Black Soot, Dark Earth, and Orange Rust weathering powders. Remember to wear a mask while working like this, you end up with a lot of dust!


Really love using transfers, especially on big kits such as this. "Dominator" and "32" are both from the Baneblade transfer sheet. I need to do a tutorial on waterslides, they're so easy to use and add such a nice effect!


Again, from the Baneblade Transfer sheet. You can also see, in this shot, the sponge weathering technique used to chip and mottle the edges of the tank. I find it best to do two layers of sponge weathering. First directly on your basecoat to begin adding detail to the piece. The second is after you've weathered and distressed the tank. The matte varnish used to keep the powder on will, obviously, matte the Chainmail as well. Apply a second sponge coat after the matte varnish selectively, and the chipping will gain some depth.


Basic Cadian tank commander from the old Leman Russ kit. I've got more of these guys than I know what to do with! He was given a simple paintjob to match the rest of the tank. This is the Guard, after all. Battle Tanks before Bros!


The rear of the tank. I've never been quite sold on the whole "Shrine on the back of my tank!" theme, so I opted to weather and dust it like the rest of the tank. I picture this tank rolling through some nasty ash-storm planet during the 13th Black Crusade. There's no time for polishing and fixing up the tank! The purity seals were lightly highlighted with Pallid Wych Flesh to still give the illusion of paper, but otherwise, it was chipped, dusted, and sealed like the rest of the tank. 


And finally, the big girl in all her glory. As you can see, the turret comes off, as does the front and side turret sponsons. The heavy bolter sponsons move up and down, but not side to side.

For those of you interested, 'Dominator' here is for sale! I don't play enough Apocalypse to justify anything of this sort, so I'm looking to send her off to a good home where she'll blast traitor and xenos alike to smithereens! I'll post her up in the ++FOR SALE++ section of the site for a couple days, then she'll go to eBay!

If you have any questions about the tank or how it was painted, please leave a comment or send me an email; I'd be more than happy to help out!

Alrighty! Going to be a slow week on the painting front with my girlfriend in town, but we're looking at more Khador and some Orks coming next! Stay tuned folks!

Granesh

Tuesday, November 12, 2013

11/12/13: Finished: Imperial Navy Vulture Gunship "Misty"

Howdy folks!

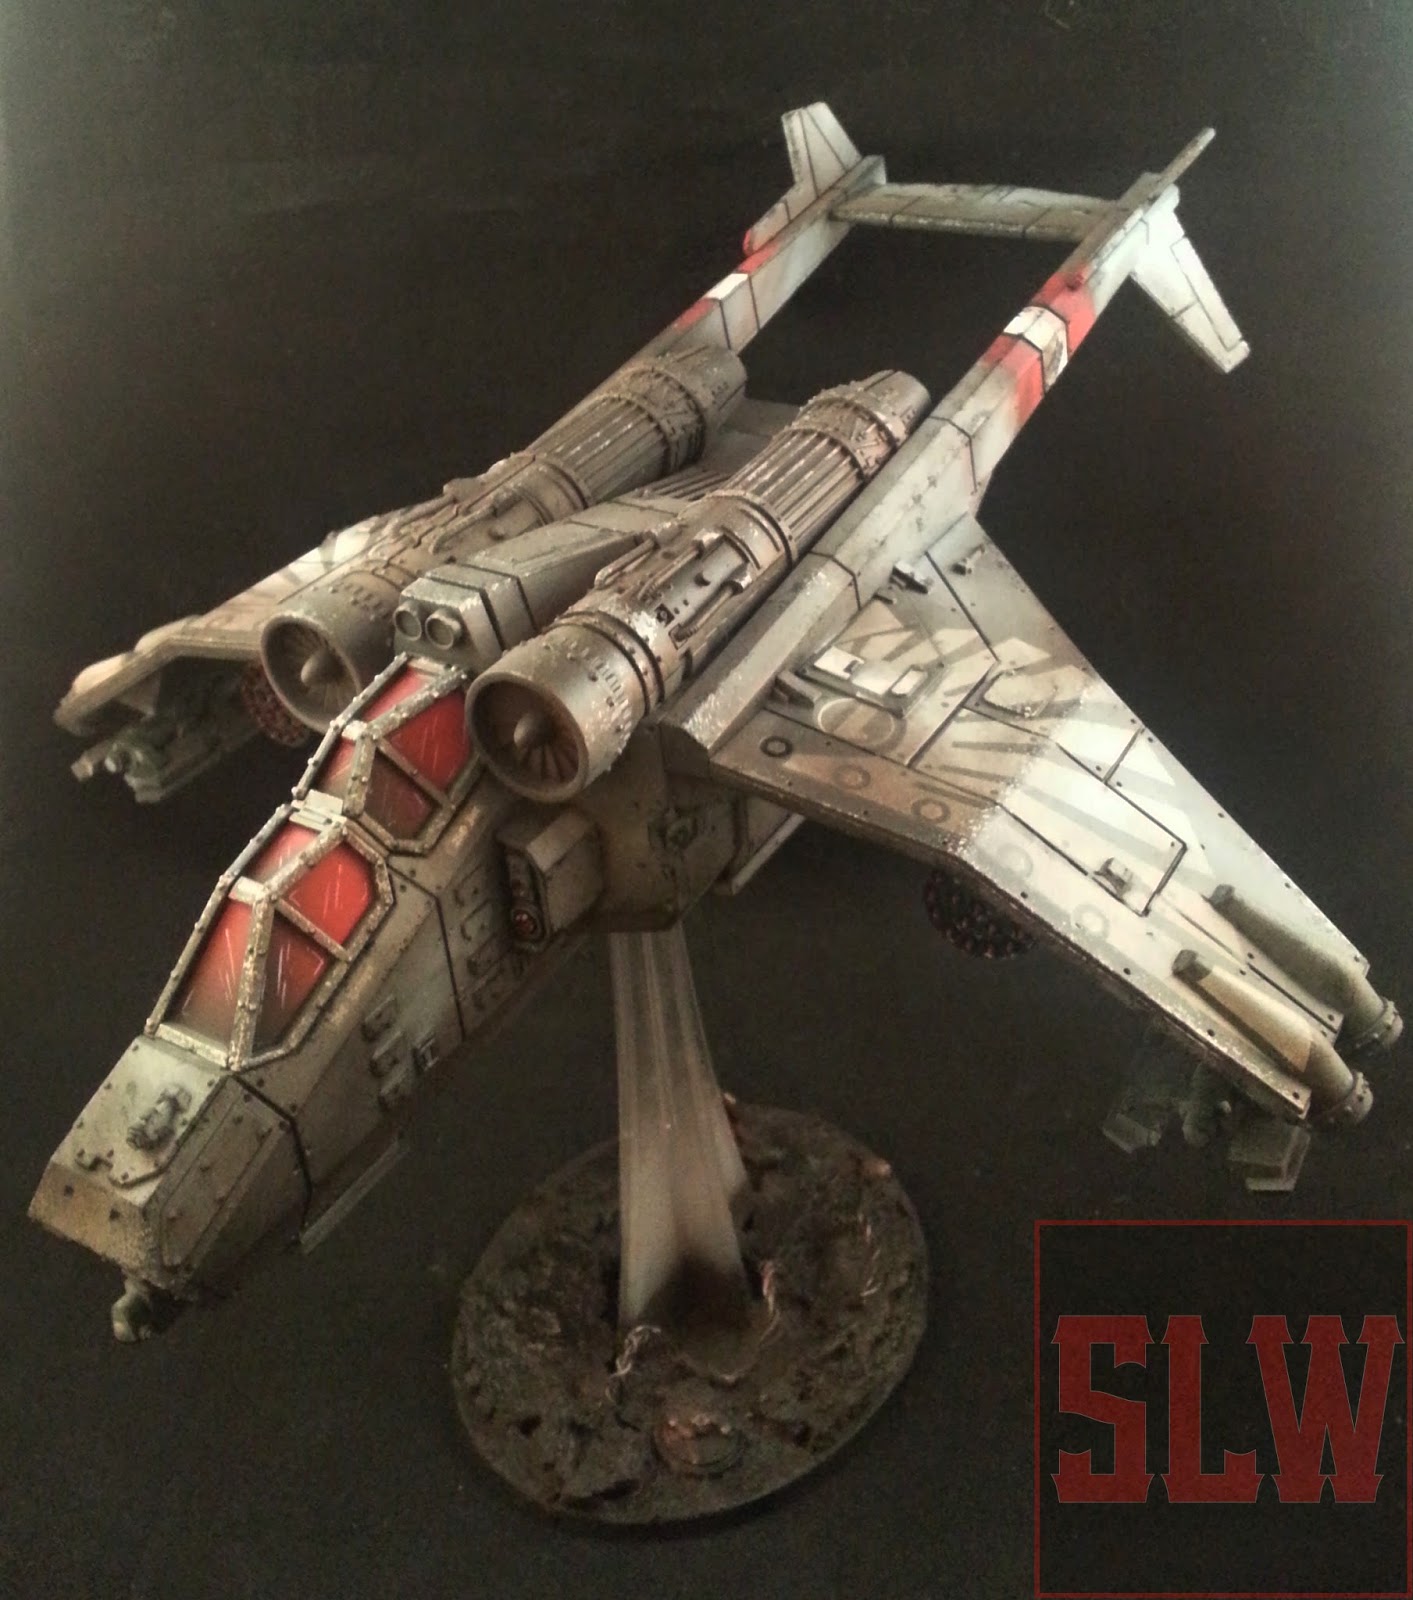
So its been a little bit in the making, but the Imperial Vulture is complete! The client had two specific requests; A) it needed to be armed with the twin-linked Punisher Cannons, and B) It had to be named 'Misty', after what the Punisher Cannons did to enemies! Granted, they're only 24" range, no AP, and BS3, but boy-howdy will this thing eat Tyranids, Guard, Orks, and Cultists for breakfast! Lets break her down, shall we?


The white base and decals makes this guy a pain in the butt to photograph by itself! I opted for a neutral grey color, complimented by the occasional red stripe or marking, and some waterslides to add flavor.


The '21' is from the FW Valkyrie Transfer sheet, and the 'Mortis' is from the IG Transfer sheet that comes from GW. 


Fun story: with the name 'Misty', I was going to opt for Pokemon-themed iconography; pin-ups, names for the Punisher Cannons, the like. I wasn't able to go with it for fear of messing something up, so this is the only homage on the piece. Misty's Starmie is level 21 when you fight her in Pokemon Red, Blue, and Yellow! Whose school? Old school!


The engines were hit with heavy weathering to simulate constant service work on the battlefield. Navy vehicles often get inducted into regiments of Imperial Guard, who wouldn't have the time to make her sparkle.


I opted for a non-intricate base, just something simple. The glowing piece is from the Leman Russ kit, which I wanted to make look like, despite being destroyed, there was still plasma in the containment areas. 


"Cadian Baneblade 'Ol' Ironsides' moves into position under Navy support during Abaddon's 13th Black Crusade."

I love working on Forge World, nearly every commission and piece I've done of their pieces is a real treat. I'd love to do a Blight Drone or Blood Slaughterer someday! 

Alrighty! This week is looking a lot like cavalry-heavy Khador, though I may try to start on some other projects I've had sitting around. Finishing those Warp Talons a couple weeks ago really wants to make me rock out my Heldrake, but we'll see how time plays out!

Granesh 

Thursday, November 7, 2013

11/7/13: Finished: Imperial Defense Lines Terrain

Hey guys!

So, as promised, I rocked through the Defense Line terrain commission this week! I've gotten called into work Tuesday and today, so painting was a little slow these days, but with a little elbow grease (and three seasons of Parks and Rec!) I dove in! Here's the results!


The Defense Lines, in all their glory! Really enjoyed these kits, there's a ton of detail all over them! Only downside is the amount of corpses on the sides. Not because they're there, because they've been sculpted so that skulls, arms, and torsos all extend crazy long and huge. 


Line #1: I opted for waterslides to break up the flat surfaces of the embellishments and the barrels on the backside.


#2: The floors were painted Doombull Brown. Then they were sponged with Chainmail to create an initial chipped look. After that had dried, a liberal amount of Forge World's Black Soot Weathering Powder was applied and brushed on. Finally, I reapplied the Chainmail to create variation in the chipping. It adds depth and detail to the floors, and really helps them stand out.


#3: The rocks and corpses were painted Scorched Brown, then overbrushed up to Baneblade Brown. The bones were drybrushed Pallid Wych Flesh and washed with Agrax Earthshade. Once the armor had been finished (I'll cover that below), the bones were again drybrushed with Pallid Wych Flesh.


#4: The Cadian equipment was painted Caliban Green. Some areas were given an Agrax Earthshade wash, then sponged with Chainmail. Waterslide transfers were occasionally added to shoulderpads and barrels to add realism and decoration.


You can make out the details better here. After everything was finished, the corpses and equipment was lightly hit with Forge World's Dark Earth Weathering Powder. This was done very moderately to blend everything into the base and add a final layer of shadow to everything.


Arkos the Faithless leads his Warp Talons against the Imperial Command Strongpoint...


...while his Chosen and summoned Bloodletters assault the Imperial horde.

Glad to have this all done, really makes me want to paint the Defense Lines we have at work now! Alrighty, tomorrow and Saturday are looking like work on the Vulture. I'll be out of the studio Sunday, Monday, and early Tuesday, but I'll be jumping into some Khador then! Stay tuned!

Granesh